
Commercial TPO Roof Repair • Phoenix, Arizona • 1,500 Sq Ft of Silicone Leak Repairs on a Single-Ply Warehouse Roof • Completed by Five Guys Roofing
Phoenix Commercial TPO Roof Repair: Tracing Rain-Driven Leaks Across a Warehouse Membrane and Sealing 1,500 Square Feet With Silicone
Five Guys Roofing inspected, mapped, and repaired the leaking areas of a Phoenix warehouse roof built on TPO single-ply membrane, sealing 1,500 square feet with silicone at the punctures, terminations, and penetrations where water was getting in, rather than replacing the membrane. Some details have been generalized to protect the property owner’s privacy, while keeping the scope, materials, and findings clear.
City
Phoenix, AZ
Property Type
Single-story warehouse, flat roof
Roof System
TPO single-ply membrane, repaired with silicone
Service
Commercial roof leak repair
Repair Area
1,500 sq ft of leaking roof
Warranty
2 Year Warranty On Repairs
Pricing and What Drives It
Approved project total: $9,500. The job was approved at $9,500 and closed out at that number, with no change orders. That works out to roughly $6.33 per square foot of repair area, which is well above a plain coating rate, because the cost on a repair like this is driven by hand detail rather than by area: three-course sealant at every cracked penetration, re-sealing the termination bar, filling dormant piping, TPO tape over the gouges, tearing out loose walk pads before coating, and mobilizing a silicone coating rig to the roof.
Repair pricing scales with the number of details, not just the square footage. The failures here were at the details rather than across the field of the membrane, which is why the scope was written to seal the leaking areas and to warrant those areas only.
The Situation
The property manager reported leaks inside the building after recent rain and sent photographs of water standing on the warehouse floor. The building is a single story with a flat roof. Leaks that show up after a storm can come from a worn-out membrane or from a handful of failed details, and the two call for very different work, so the job opened as an inspection to find the sources and the extent of the damage before anything was priced.
- Leaks reported inside the building after recent rain, with standing water across the warehouse floor
- Two punctures or slits through the membrane letting water in
- Failing sealant at the termination bar in two places, one of them a long run
- Open pipes and venting that had not been sealed properly
- Slits and age in the material around two rooftop HVAC units
- A soft area on the roof, soft enough that the inspector nearly went through it
- Loose walk pads sitting over areas that needed to be coated
What Was Causing It
The membrane was not failing across the field. TPO is a heat-welded single-ply sheet, and the defects we marked sat where the system stops being a continuous sheet: the punctures and gouges driven through it, the termination bar where it is fastened and sealed against the walls, and the pipes and vents that pass through it. Sealant at those details has a far shorter service life than the membrane it protects. Once it cracks, water gets under the edge or through the hole and then travels along the deck before it ever shows up inside, which is why the leaks appeared on the floor only after heavy rain.
How We Found the Leak Sources
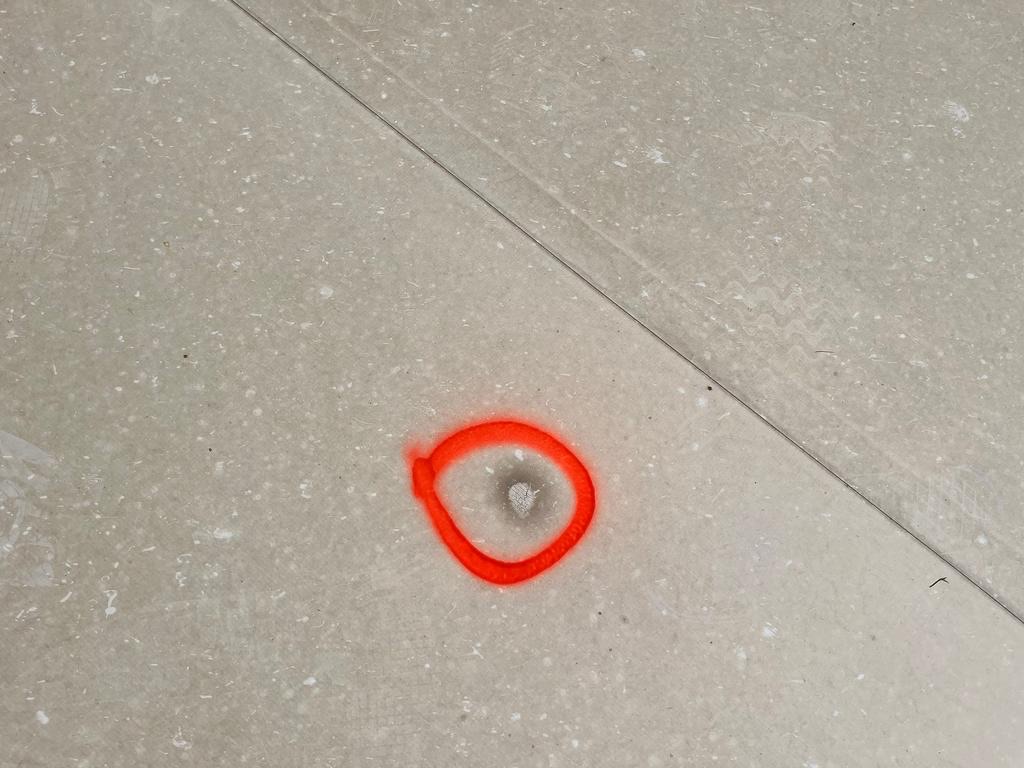
We put a roof inspector on the roof on 2025-10-20 and worked the entire surface rather than only the area above where water was showing up inside. Every defect that could account for the reported leaks was marked in place with spray paint, so the estimate, the work order, and the repair crew all worked from the same physical map.
- Inspected and photographed the whole roof, 178 photos in all
- Marked each defect directly on the membrane so the repair crew could find the same areas months later
- Circled two punctures and slits driven through the single-ply sheet
- Traced failing sealant along the termination bar in two locations, one of them a long run
- Flagged pipes and venting that were not sealed properly, plus dormant piping left open
- Noted slits and age in the material around two rooftop HVAC units that would need coating
- Found a soft area on the roof and flagged it to the customer instead of coating over it
- Totaled 1,500 square feet of leaking area to be cleaned, prepared, and coated
The estimate went out the day after the inspection and was approved on 2025-11-20. The marked areas were then walked again with the repair crew on the first day of production, before anything was cleaned or coated, to confirm nothing on the map had been missed.
The Plan
The plan was a repair, not a replacement. With the failures sitting at the details rather than across the field of the membrane, the work was to seal what had actually failed and to warrant that work. The scope was written area by area from the inspection markings: clean and prepare the roof deck over the leaking areas, detail every penetration and termination inside those areas, then coat the prepared surface with silicone. The warranty was written to match the work exactly, at two years on the repaired areas only.
Materials and Components Used
- Silicone Coating: 20 gallons of silicone roof coating over the cleaned and prepared leak areas, applied with a silicone coating rig
- Reinforcing Fabric: 6-inch Tytek fabric for the three-course work at cracked penetrations and terminations
- TPO Tape: applied over the large gouge areas in the membrane before coating
- Sealant and Putty: Rx putty, including a full bucket on the first day, worked into penetrations and details
- Caulking: 10 tubes over failing joints and the termination bar sealant
Step-by-Step Work
Inspect, Mark, and Quote From the Roof Itself
The inspection ran on 2025-10-20. Rather than quote from the leak locations reported inside the building, we walked the whole roof, marked every defect in place, and photographed each one. That produced both the repair map and the 1,500 square foot figure the scope was priced against. The estimate went out the following day and was approved on 2025-11-20.
Work Order, Safety Plan, and Scheduling
A work order was written on 2025-11-25 and a written safety plan was completed for the project. The start date moved twice during scheduling, and we let the customer know each time.
Walk the Marked Areas With the Crew, Then Clean and Prep
On the first day of production, 2026-01-16, the project manager walked every marked area with the crew and confirmed the map before any work started. Crews then prepared and washed the areas to be coated. Loose walk pads sitting inside the leak areas were torn out first, so that the silicone would bond to the membrane itself rather than to a pad that would later be lifted or replaced.
Detail Every Penetration, Termination, and Gouge
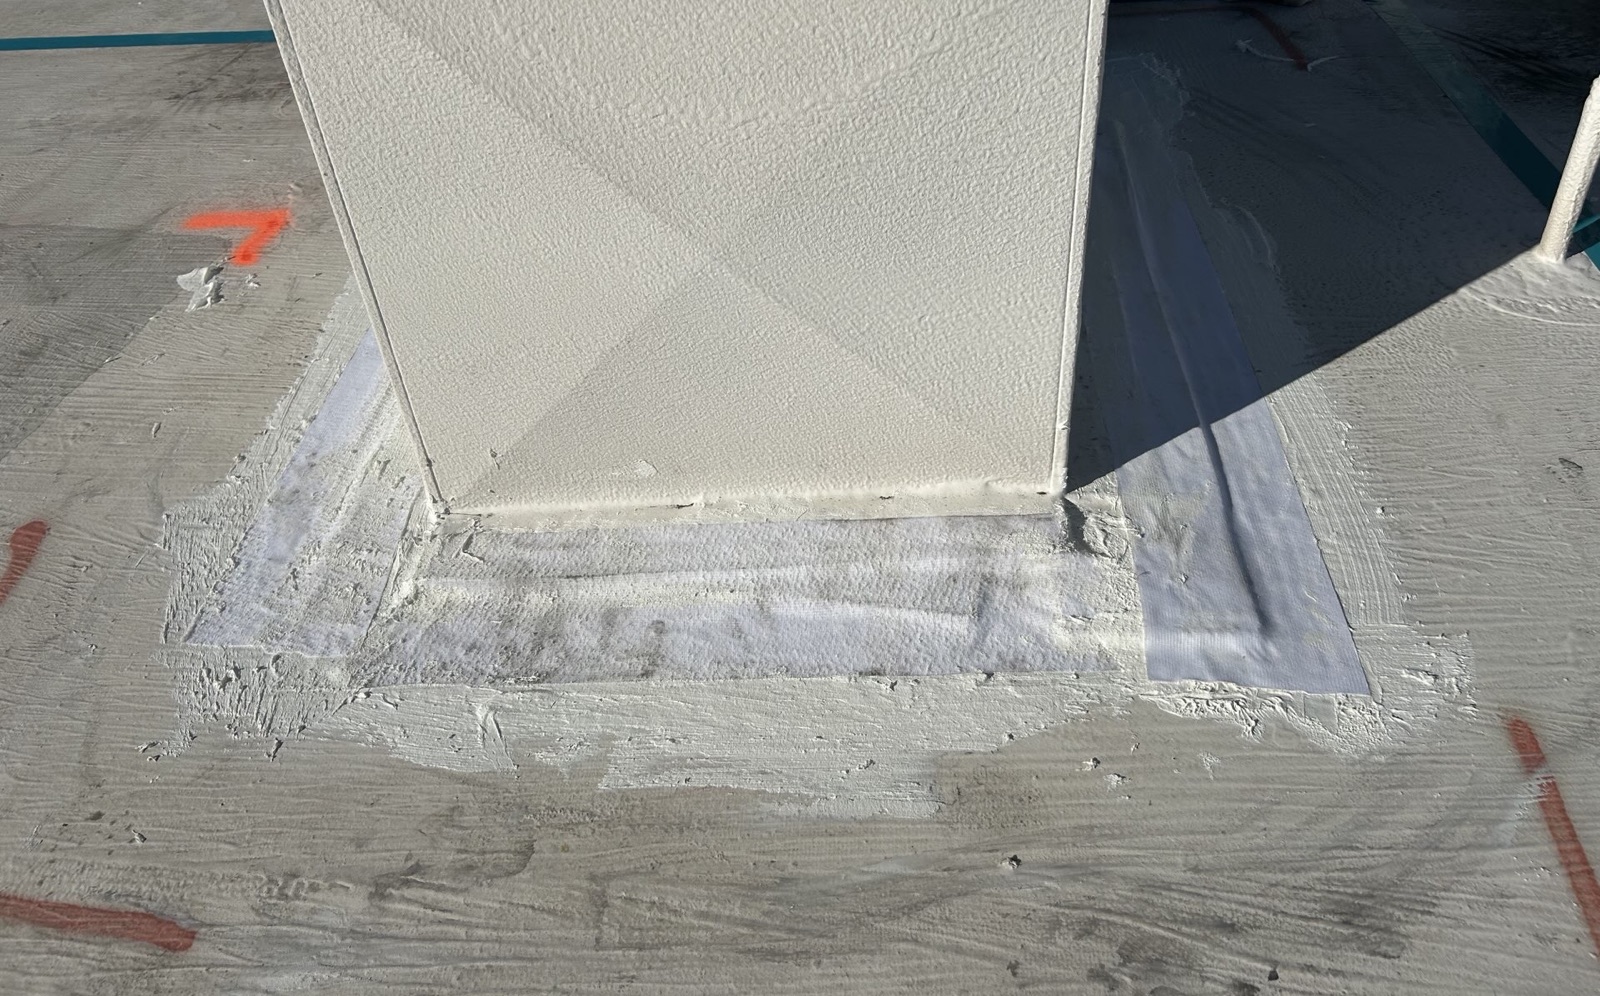
Three-course sealant applications went in around the cracked roof penetrations inside the leak areas, using putty and 6-inch reinforcing fabric bedded together. The termination bar was re-sealed where its sealant had failed, a new penetration was three-course sealed, dormant piping was filled with sealant, and TPO tape went over the large gouge areas. The first production day ran eight hours with a three-person crew.
Coat With Silicone, Clean Up, and Walk It
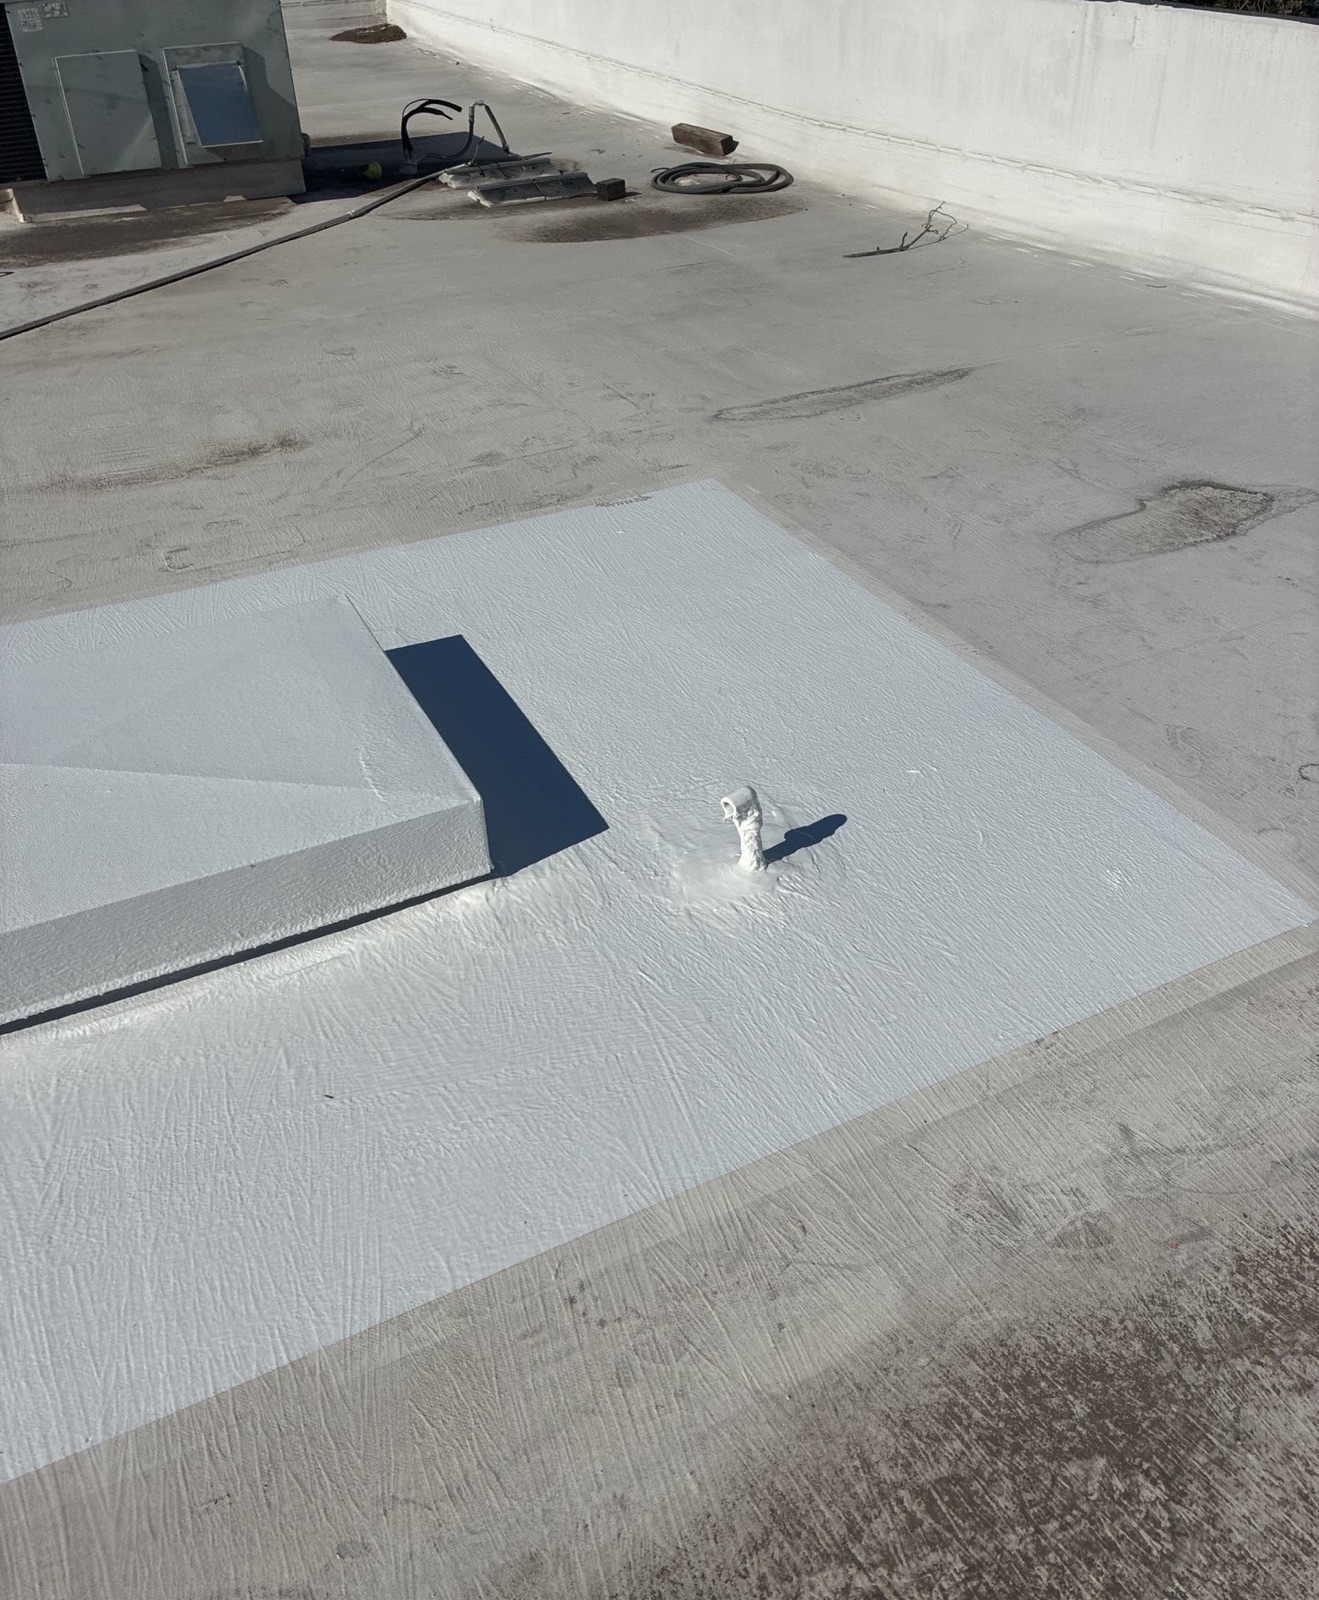
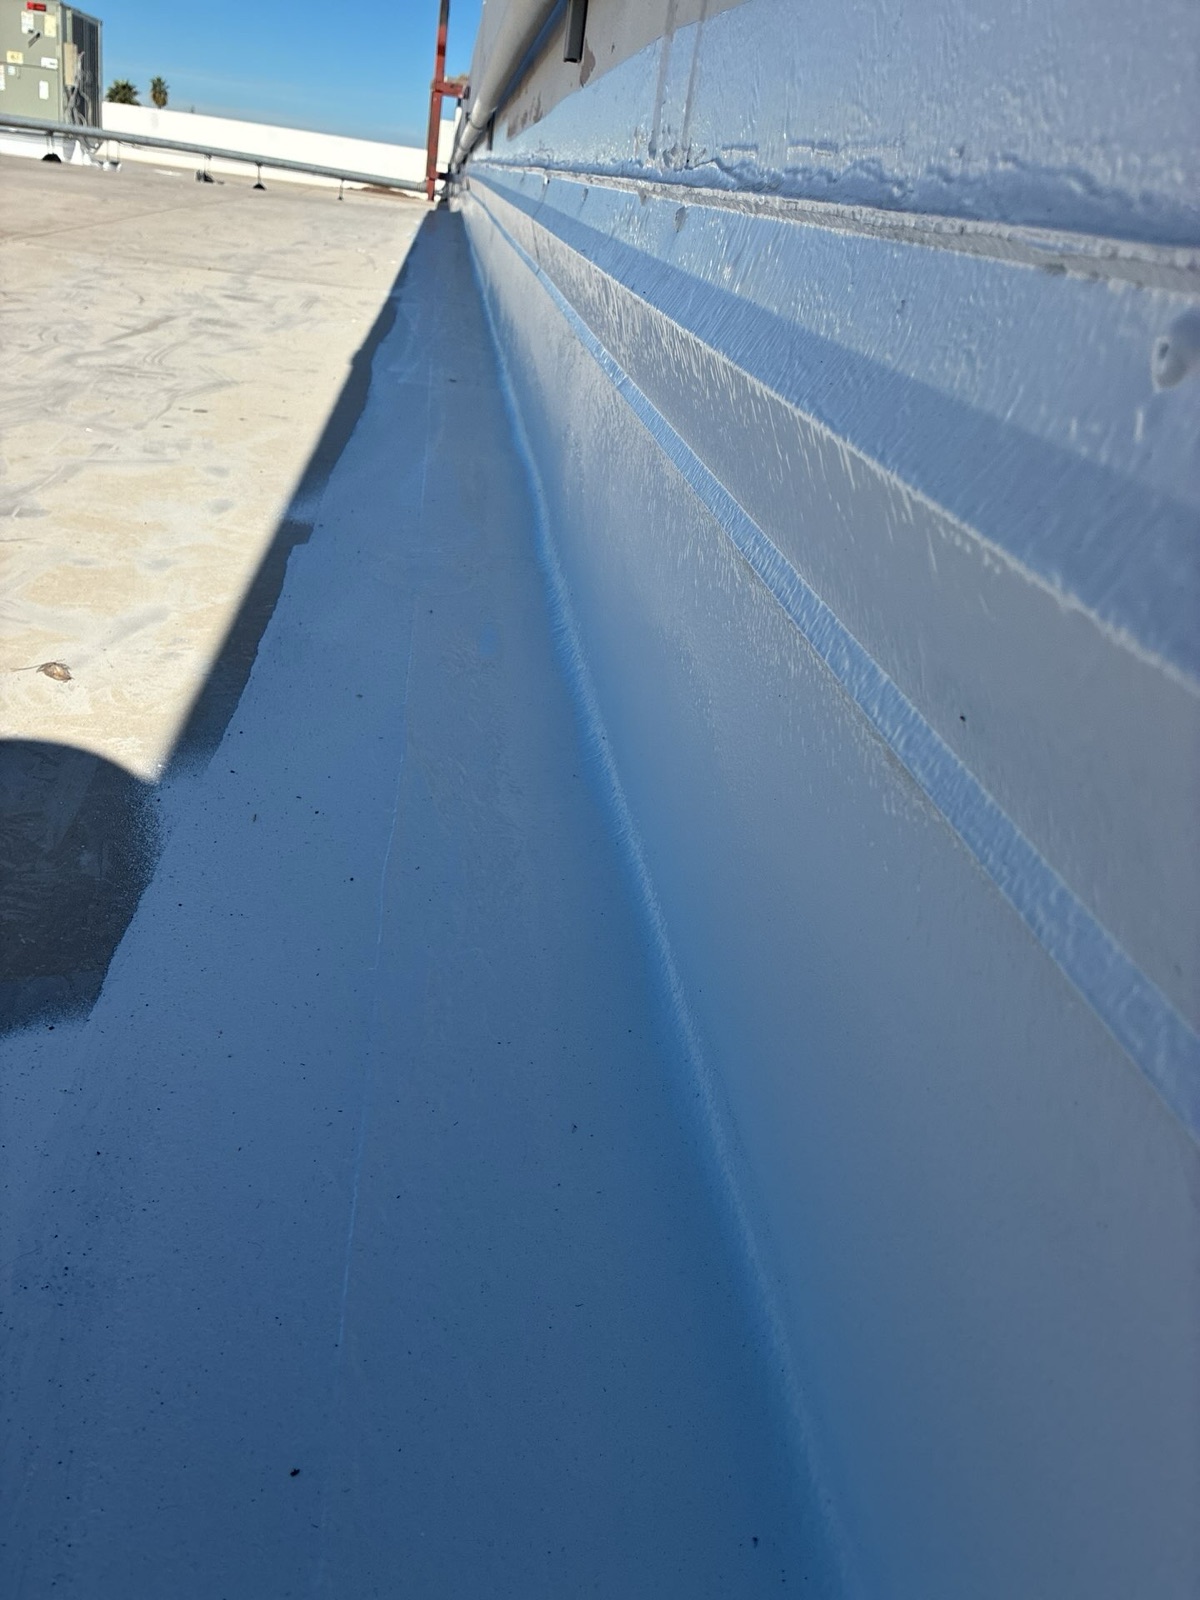
Silicone roof coating went over the cleaned and prepared leak areas and was carried up onto the adjacent vertical surfaces so the repair closed out against the walls and curbs instead of stopping at the horizontal. A second production day added six hours, putting on-site time close to the 1.5 days of silicone coating rig time the job had been planned around. All work areas were cleaned and the trash and debris hauled away, and a final walk followed on 2026-01-22.
Results
The job closed out at the approved $9,500, with no change orders written. Production ran across 2026-01-16 to 2026-01-18, an eight-hour day followed by a six-hour day with a three-person crew. The final walk on 2026-01-22 found one small marked repair on the east side of the building still outstanding, so a crew went back and finished it, and the project was completed on 2026-02-07.
The approved scope carried a 2 Year Warranty On Repairs, covering labor and materials, running into February 2028. Coverage applies to the repaired areas only: it is a repair warranty rather than a whole-roof warranty. The remainder of the roof keeps whatever coverage it already carried.
Before and After
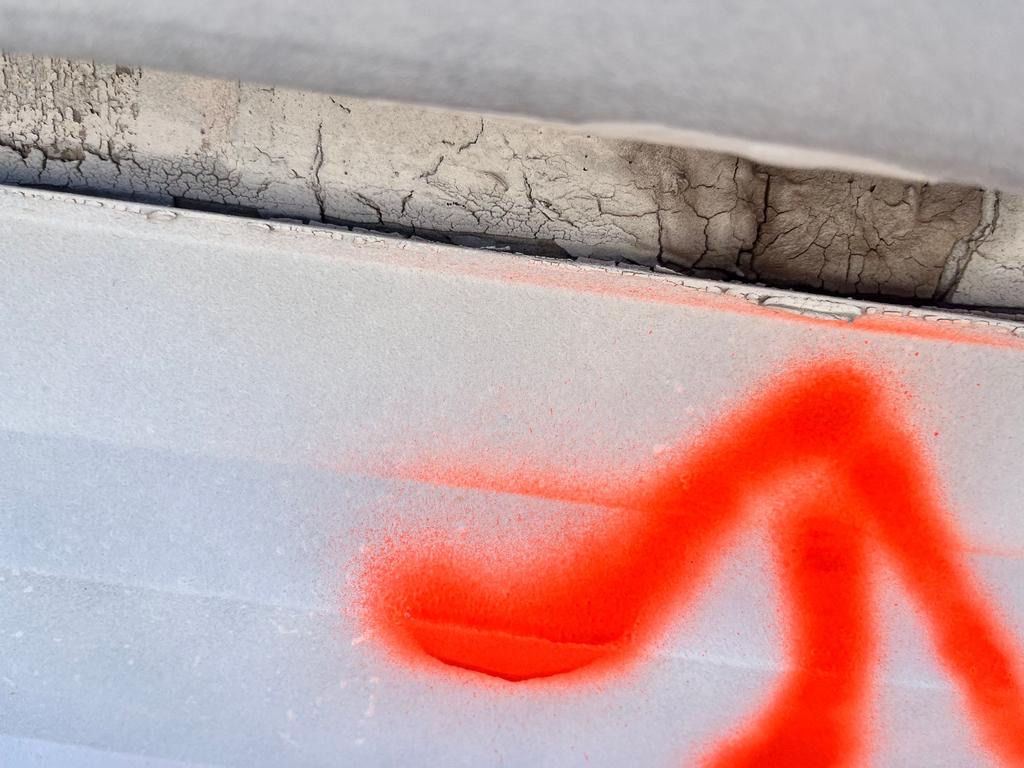
A side-by-side recap of a failed detail where the membrane meets the wall, and the same kind of transition once silicone had been carried through it.
FAQ
Can a leaking TPO roof be repaired with a silicone coating, or does it have to be replaced?
It can often be repaired. TPO is a heat-welded single-ply sheet, and when the leaks trace back to the details rather than to the field of the membrane, sealing those details is usually the right call: punctures and gouges through the sheet, cracked sealant at the termination bar, and penetrations that were never sealed properly. That was the picture on this warehouse, so we cleaned and prepared the leaking areas, three-course detailed every cracked penetration, taped the large gouges with TPO tape, and coated 1,500 square feet with silicone for an approved $9,500 rather than replacing the membrane.
Why did the leaks only show up after heavy rain?
Because the failures were at details rather than across the field of the membrane. A cracked bead of sealant at a termination bar, or a vent that was never sealed properly, will shed light rain and only let water through under sustained or driven rain. Once water is past that detail it runs along the deck before it appears inside, which is why it showed up as standing water on the warehouse floor away from the actual entry points. That is also exactly why we inspected the entire roof rather than just the area above the puddles.
How do you make sure the crew repairs the same defects the inspector found?
We mark them on the roof. Every defect on this job was marked in place with spray paint during the inspection and photographed, so the estimate, the work order, and the crew all worked from the same physical map. That matters here because the approval and the production dates were weeks apart. On the first day of production the project manager walked every marked area with the crew and confirmed the map before anything was cleaned or coated.
What did the $9,500 cover, and what drove the cost?
It covered cleaning and preparing 1,500 square feet of leaking roof deck, three-course sealant around the cracked penetrations, re-sealing the termination bar where its sealant was failing, three-course sealing a new penetration, filling dormant piping with sealant, TPO tape over the large gouge areas, tearing out loose walk pads before coating, silicone coating over the prepared areas, and hauling away all trash and debris. The cost driver on a repair is the number of details rather than the area, which is why this came to roughly $6.33 per square foot, plus mobilizing a silicone coating rig to the roof. The approved total was $9,500, with no change orders.
What does a 2 year repair warranty actually cover?
Two years on the repaired areas only, covering labor and materials. We sealed and warranted the areas that were leaking, not the whole roof, and the rest of the membrane keeps whatever coverage it already carried. Warranty coverage across an entire roof is a restoration or a replacement scope, and it is priced, installed, and warranted differently.
Have more questions? Check out our FAQ page.
Chasing a Leak on a Commercial Flat Roof in the Phoenix Metro?
If you manage a warehouse, industrial, or commercial building with a TPO or other single-ply roof that started leaking after a storm, request a commercial roof inspection. We will walk the whole roof rather than just the area above the leak, mark and photograph every defect we find, and tell you whether it needs a targeted repair or a full restoration, with the scope and the warranty written to match what we actually sealed.
Five Guys Roofing · (480) 892-5311 · ROC# 301077 & ROC# 301076 · fiveguysroofing.com
We do not publish addresses, property names, or client-identifying details.
